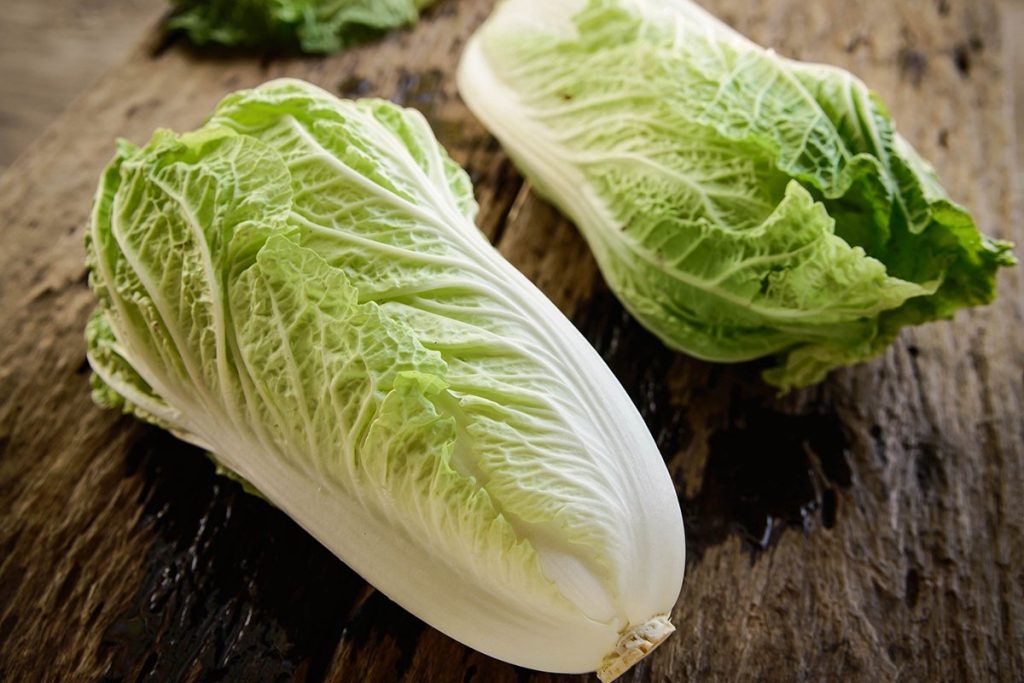
Kimchi (김치) is the staple of Korea. A fermented dish made mainly with Chinese Cabbage aka Napa Cabbage, this dish has many variations but very easy to make at home and packs a punch for your gut health. Kimchi can be dated back to the era of the Three Kingdoms (37 BC‒7 AD). Fermented food was necessary when there were no other method to store food. The tradition though of making Kimchi thankfully did not die out but has been continued and improved through the decades.
Packed with probiotics and nutrition, Kimchi is synonymous to good gut health. Kimchi has an excellent nutritional profile. The dish is low in calories but packed with nutrients like iron, folate, and vitamins B6 and K. Kimchi is said to be anti inflammatory, gives your immune system a boost, anti-ageing, and may aid in weight loss.
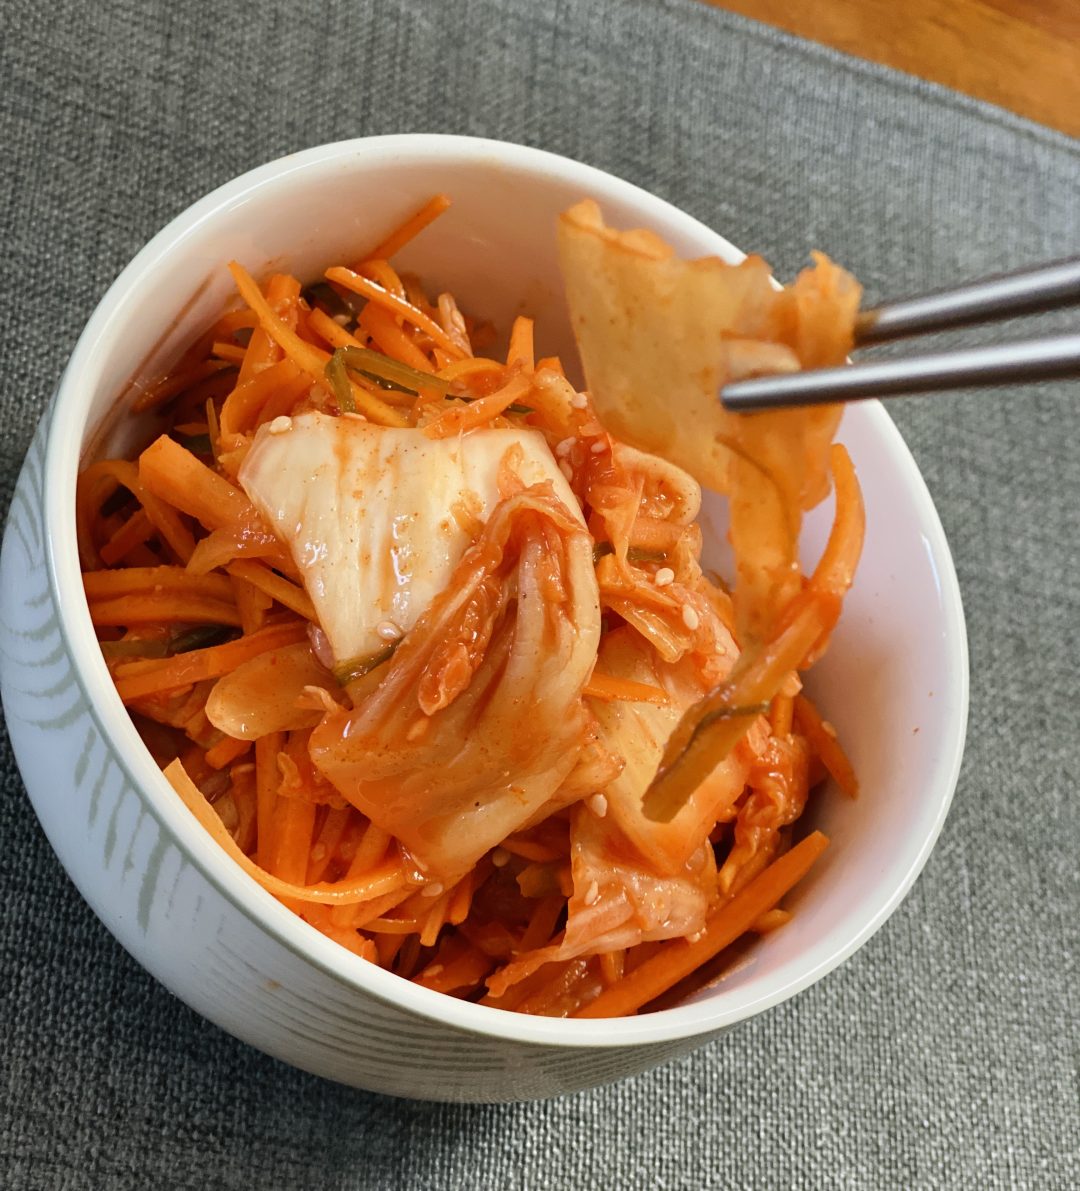
I have recently started indulging in Korean food when my indulgence in K-drama began. I would highly recommend K-drama if you don’t mind reading subtitles or even to aid learning Korean! I have started picking up a few words and phrases from K-drama on Netflix! 그건 사실이야. Okay, now back to our Kimchi. This is obviously my version of Kimchi, I like it spicy and have added a few extra chillies to give it a kick. The most important thing in Kimchi making is the salt (brine) and storage of course. The taste is very much individualised and each time you make it, you can alter it to make it more to your own liking! I use Kimchi in my noodles, rice, as a side dish, well almost in everything. Do check out my Kimchi Fried Rice. Let’s get started on our Kimchi making.
Ingredients (for one big jar of approx. 3L)
- 1 Chinese Cabbage/Napa Cabbage (medium sized)
- 30g Coarse Sea Salt
- 2 – 5 tbsp Gochugaru ( (고추가루, Korean red chili pepper flakes)
- 3 x Carrots (julienned) optional*
- 1 x Radish (small) (julienned) optional*
- 4 x Spring Onion (julienned) optional*
- 4 cloves of Garlic (finely grated/chopped)
- 2 x 3 cm Ginger (finely grated/chopped)
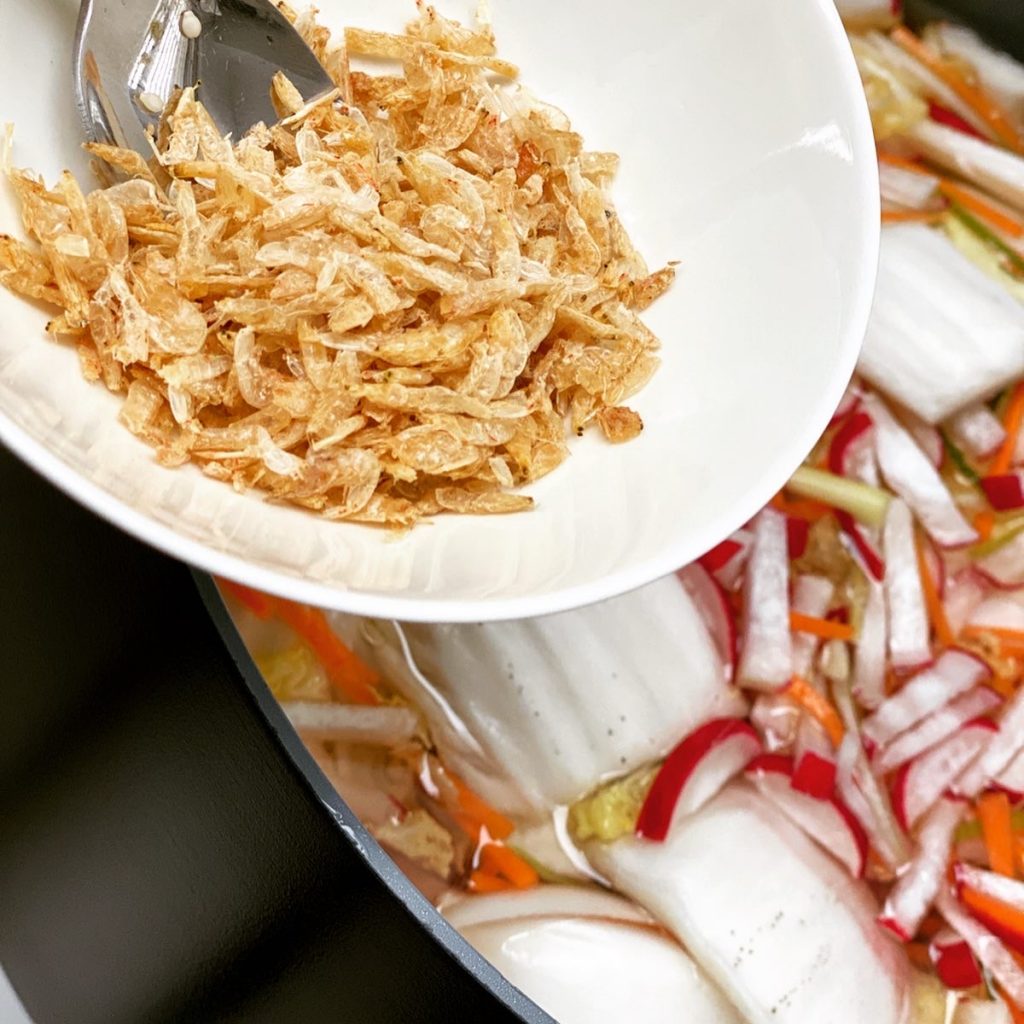
- 2-4 tbsp Dried Shrimps optional*
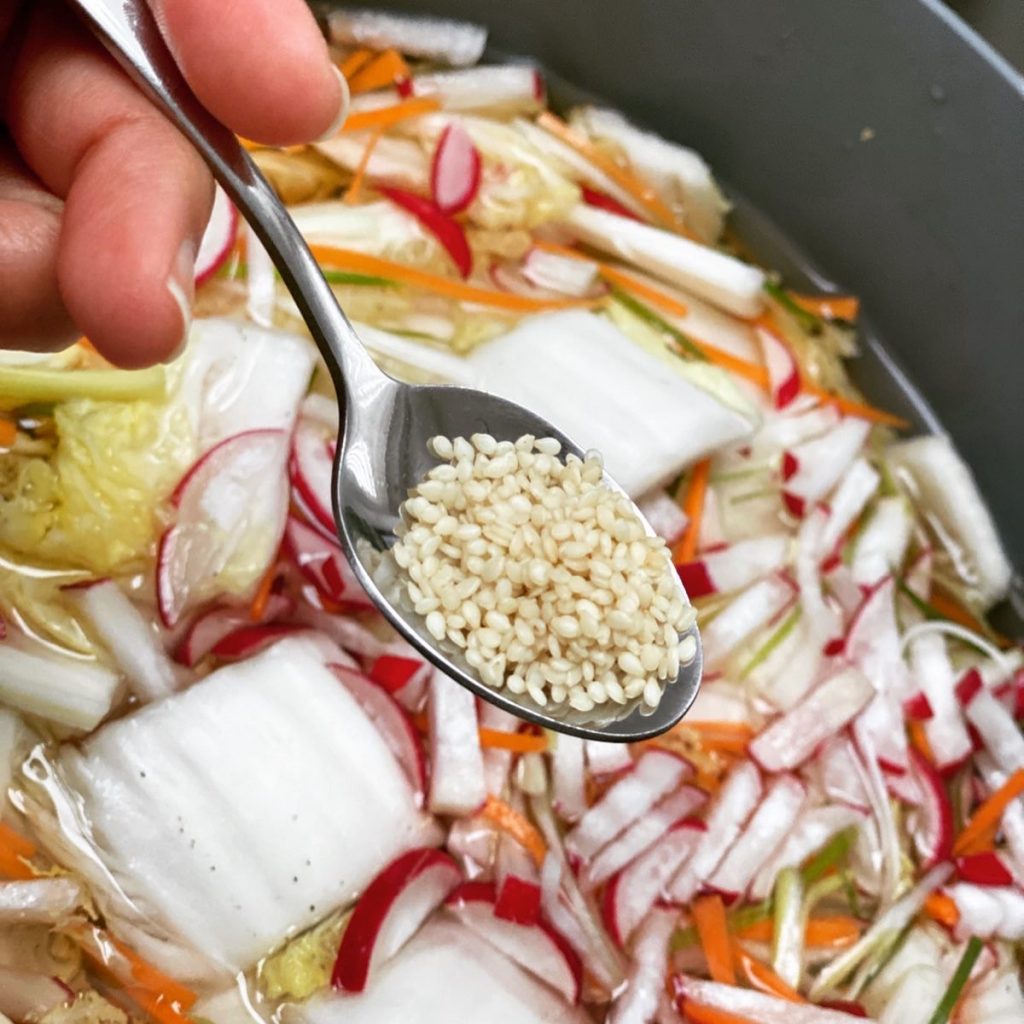
- 2 tbsp Sesame Seeds
- 2-4 Fresh Chillies (julienned) optional*
- 2 tbsp Fish Sauce (use soy sauce if vegan)
Methods
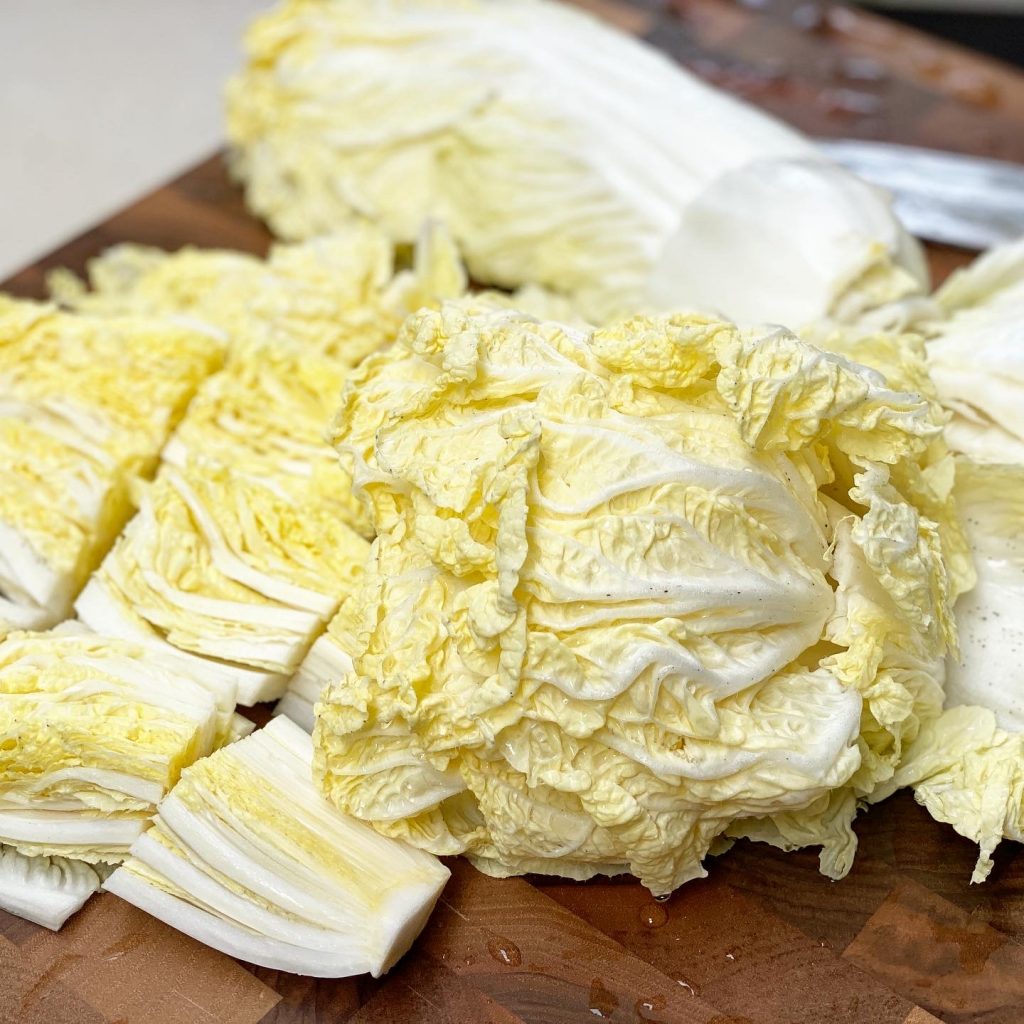
First step is to prepare our cabbage. I cut them into chunks of approximately 3 x 3cm. The way I see it, is to ensure I can fit it in my mouth without having to cut it apart. Of course, not too small either, so that there’s a good bite to it. Prepare all the other vegetables too.
Now there are many variations to Kimchi depending on where you are and what you like. I have kept this recipe fairly simple to vegetables we can easily source in the local supermarkets (in London). You can easily get Radish (Daikon) in Chinatown. Chinese/Napa Cabbage, either in local supermarkets or Chinatown. The Korean chilli flakes (Gochugaru) can be found in most Chinatown supermarkets. I like my Kimchi on the fiery side, so I have added more Gochugaru and fresh chillies. It is not too fiery (that mouth numbing experience is a no-no) to me as I mix in dried shrimps, fish sauce and together it balances it well. You will get a knack for it once you try it.
Next, is to prepare the brine. In a large pot, place the cut cabbages, carrots, and radish. Rub in the sea salt. Ensure all parts of the cabbage and vegetables are covered. Then, add enough water to immerse the vegetables. Pending on the size of the vegetables and the pot, I would say between 1.5-2 L of water. Leave the cabbage in the brine for a few hours (3-5 hours). I usually prepare this in the morning and so it would be ready to mix in the early evening.
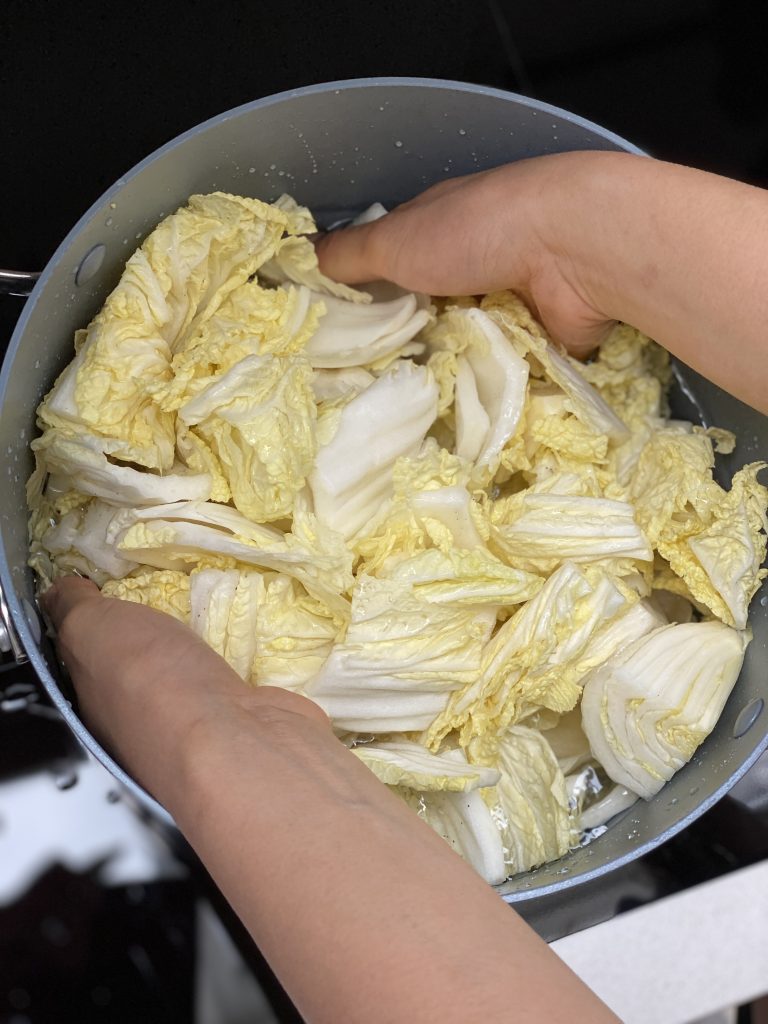
After a few hours, check on the vegetables in the brine. They should feel soft. Give it another good rub and a wash. Don’t throw the brine away or at least safe half the brine (the top half as in without sediments or impurities).
In another big pot, place the brined vegetables. Ensure there is enough room in the pot to mix the vegetables. Add in the Gochugaru, fish sauce, dried shrimps, fresh chillies, sesame seeds, spring onions, garlic and ginger. Use your hands to mix them in. This might take a good few minutes. I find this process relaxing and stress relieving! You can use a pair of gloves to mix but I much prefer to feel and mix it with my clean bare hands.
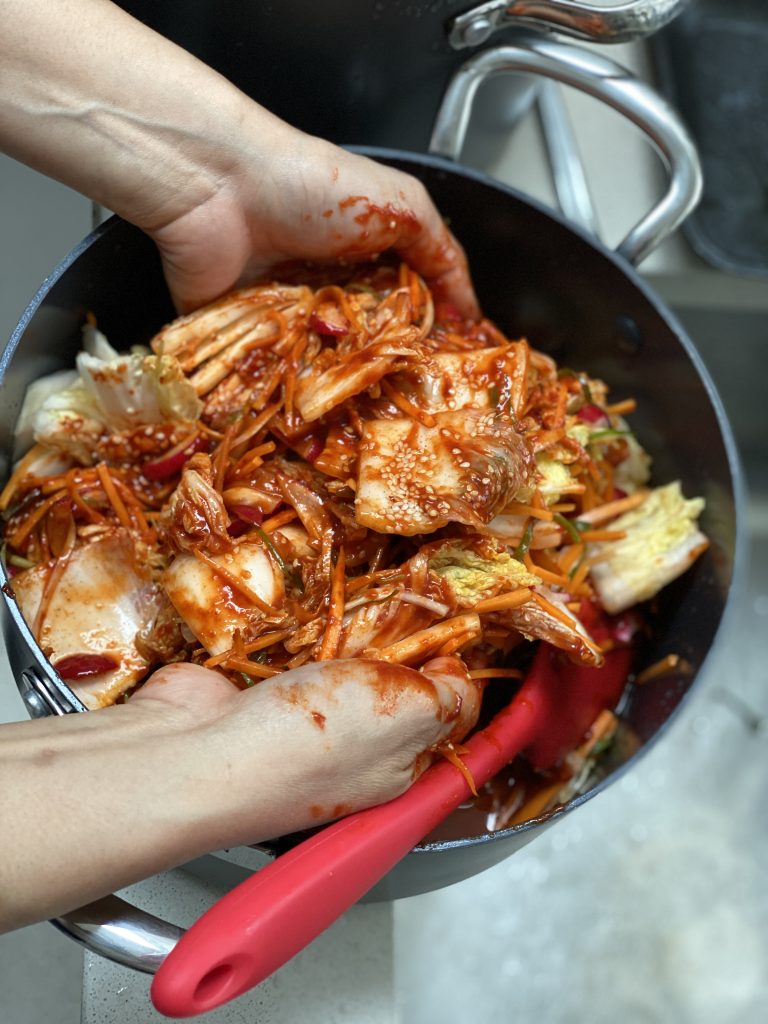
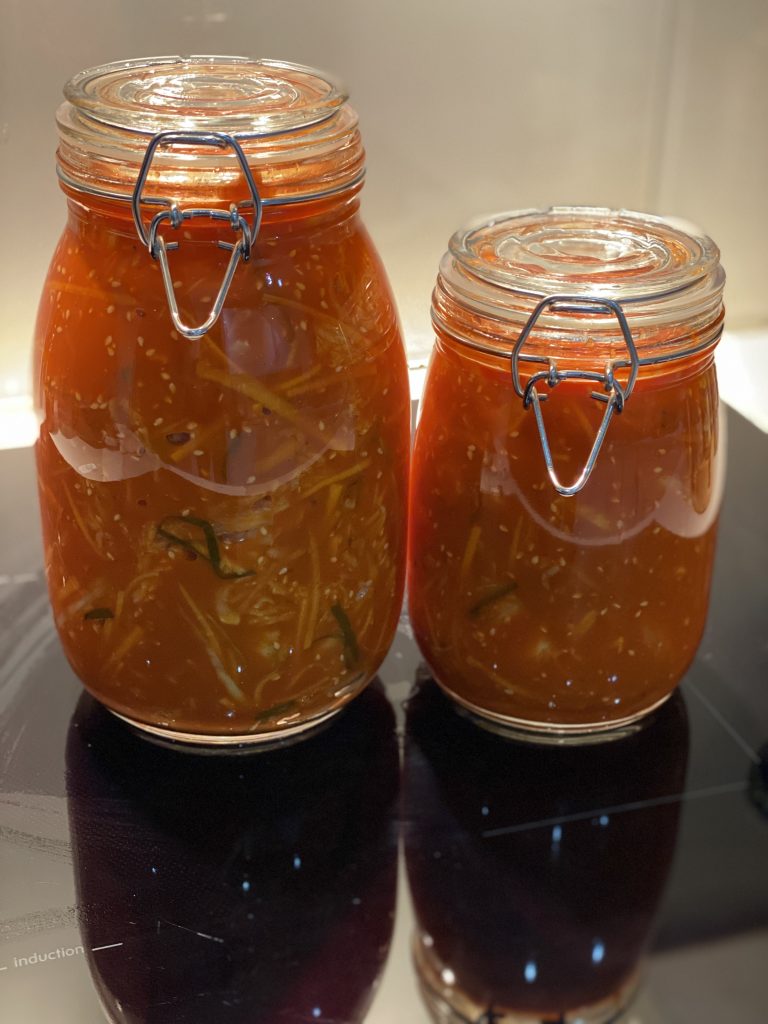
I now leave the mix in the pot and cover with a lid overnight, though I do check on it a few times. This is what I call the first part of the fermentation. You can skip this and place it straight in the jars. I do find that doing this means no overflowing and creating messy kitchen counters with kimchi overflows.
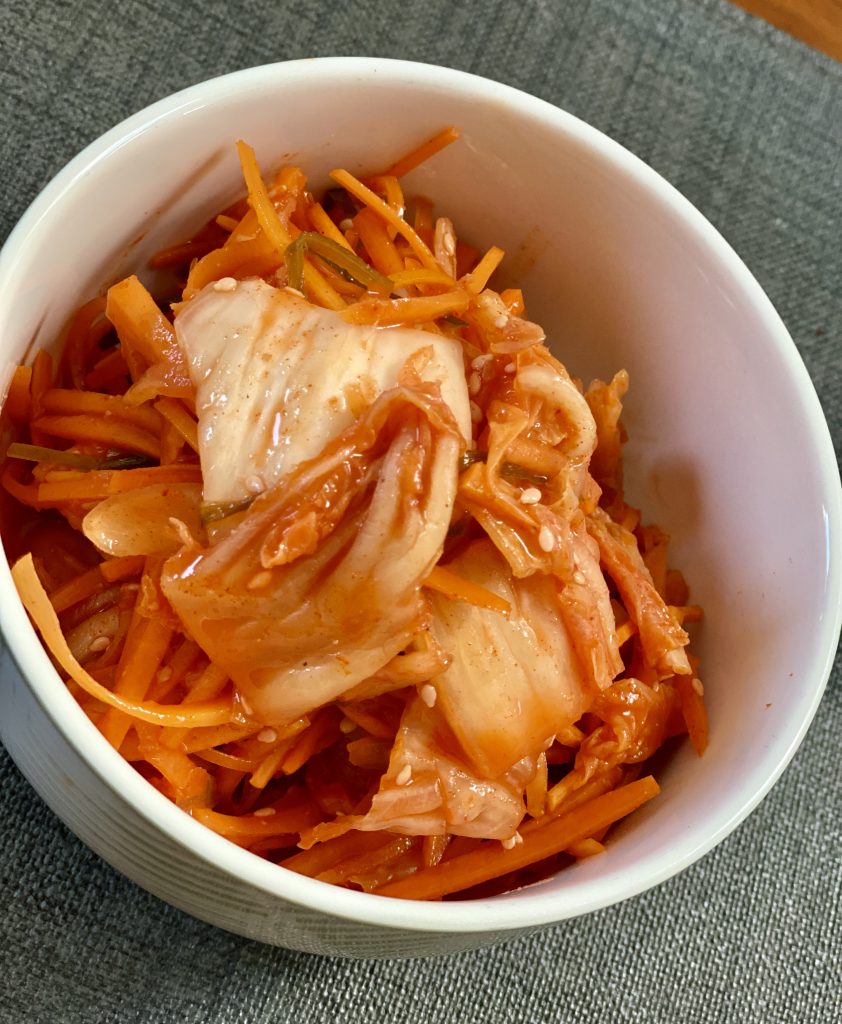
The next day, I put the Kimchi into the jar. It is important to cram it and stuff it all in. Remember the leftover brine, you can top up the jar with the brine once the kimchi are all stuffed in. I usually do mine in 2 medium jars. So I can start on one whilst the other continues to ferment a little longer. Place the jars on the kitchen counter for another day or two for part 2 of the fermentation. It is recommended to ferment at room temperature for 24-72 hours. Then, transfer the jars to the fridge for a further 2 weeks – part 3 of the fermentation process. The Kimchi is best to eat from the 2 weeks after the third part of the fermentation. You can technically keep the kimchi in the fridge for a few months but surprisingly, mine would only last about 2 months at max!
Enjoy your Kimchi (Kimchee)! 잘 먹겠습니다 (jal meokkessumnida)!

No Comments